
Getting Started with AIsa

This technical guide outlines the process of creating your first authenticated request using the AIsa Unified Model Gateway. Upon completion, you will be capable of calling over 100 large language models (LLMs) through a single API endpoint using standard OpenAI-compatible tooling.

Prerequisites

To complete this quickstart, you must possess the following:
  1. An active AIsa account.
  2. A valid API key generated from the AIsa dashboard.
  3. A foundational understanding of OpenAI-style Chat Completions APIs.
All newly registered accounts automatically receive a $2.00 free credit balance. These funds are immediately available for testing within the browser-based Model Playground or via direct REST API calls.

Step 1: Account Creation and API Key Generation

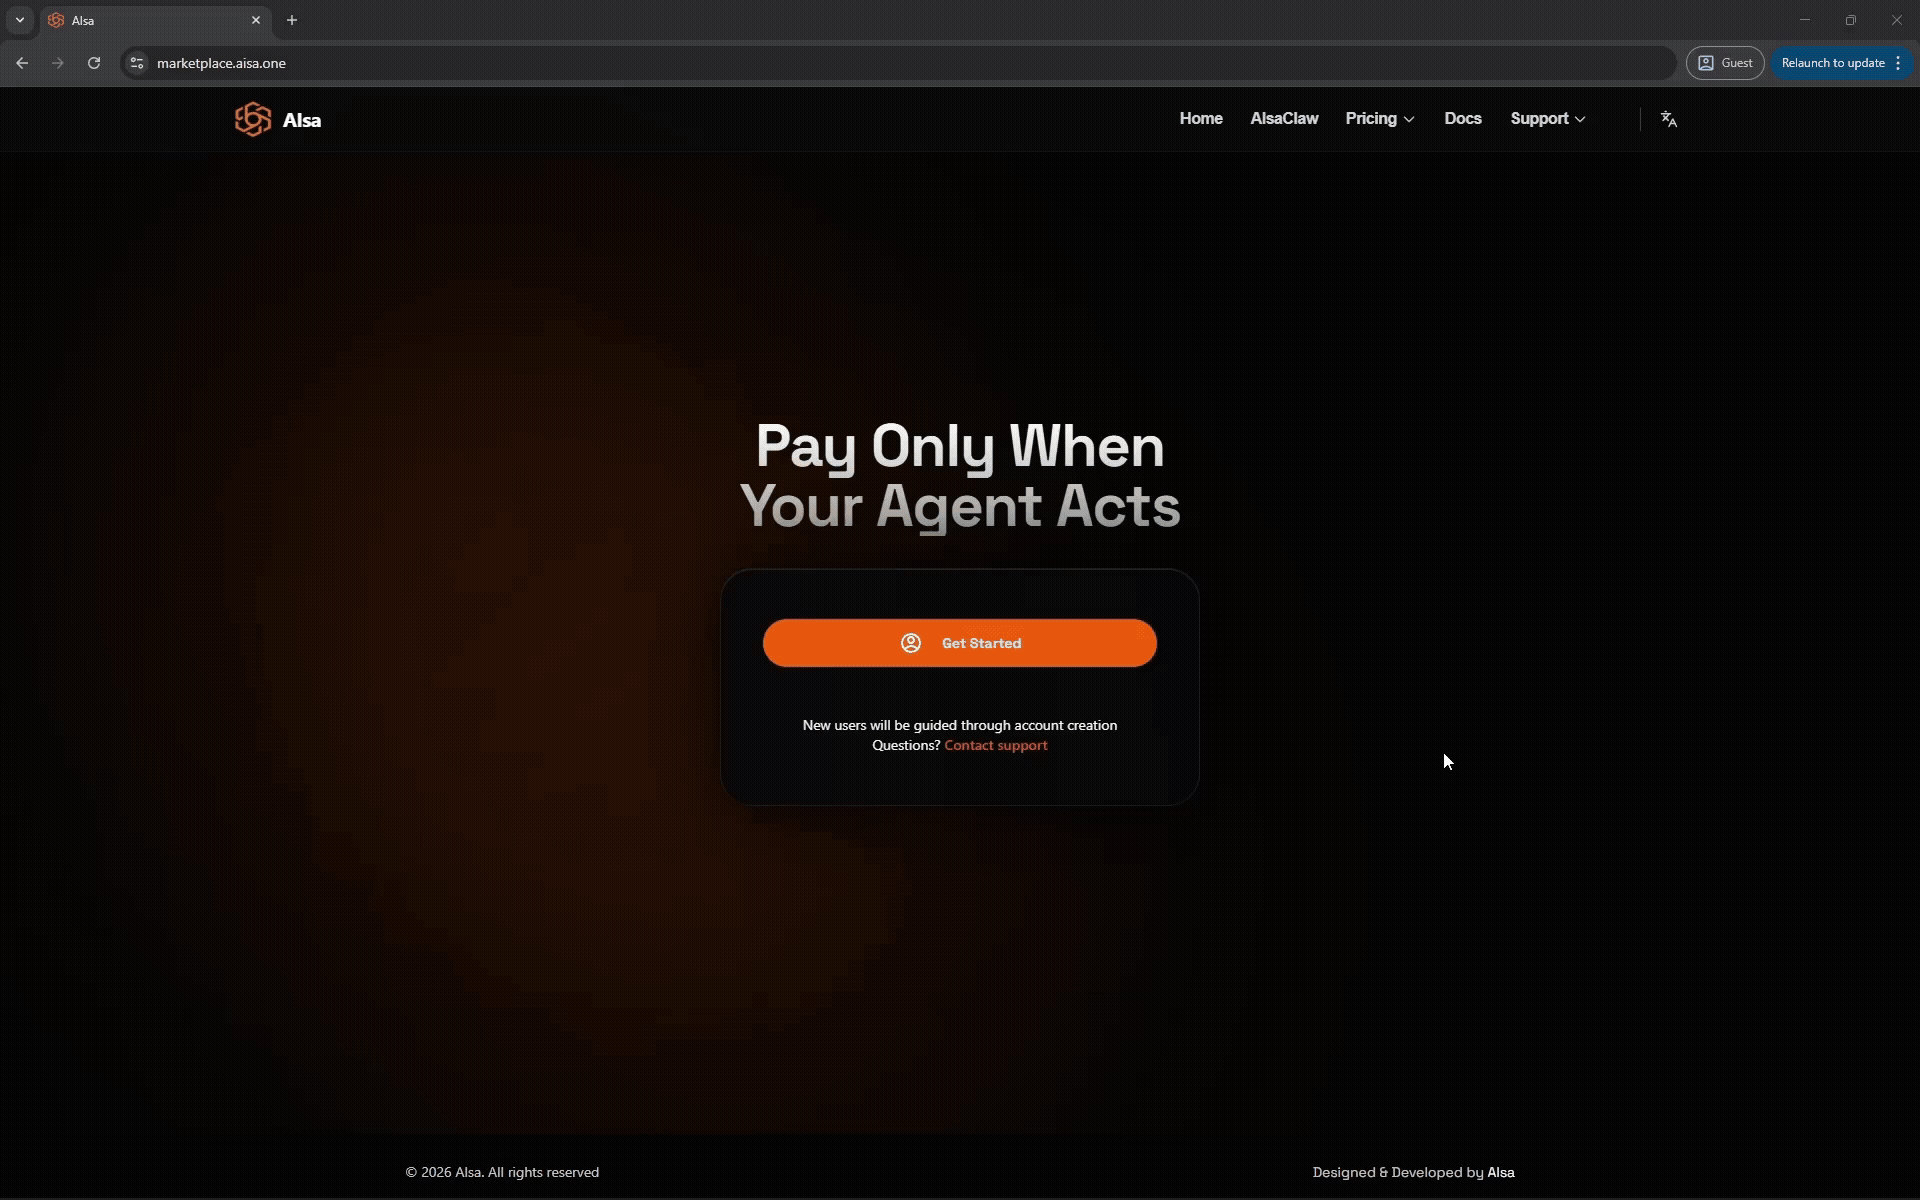
The first step requires establishing an identity on the platform and generating a secure authentication token.
  1. Navigate to the AIsa registration portal and create an account. The platform supports standard email registration, which requires verifying your email address before setting a password, as well as Single Sign-On (SSO) via Google OAuth and GitHub OAuth.
Animated walkthrough of the AIsa registration flow — sign up with email, Google, or GitHub, then land on the dashboard
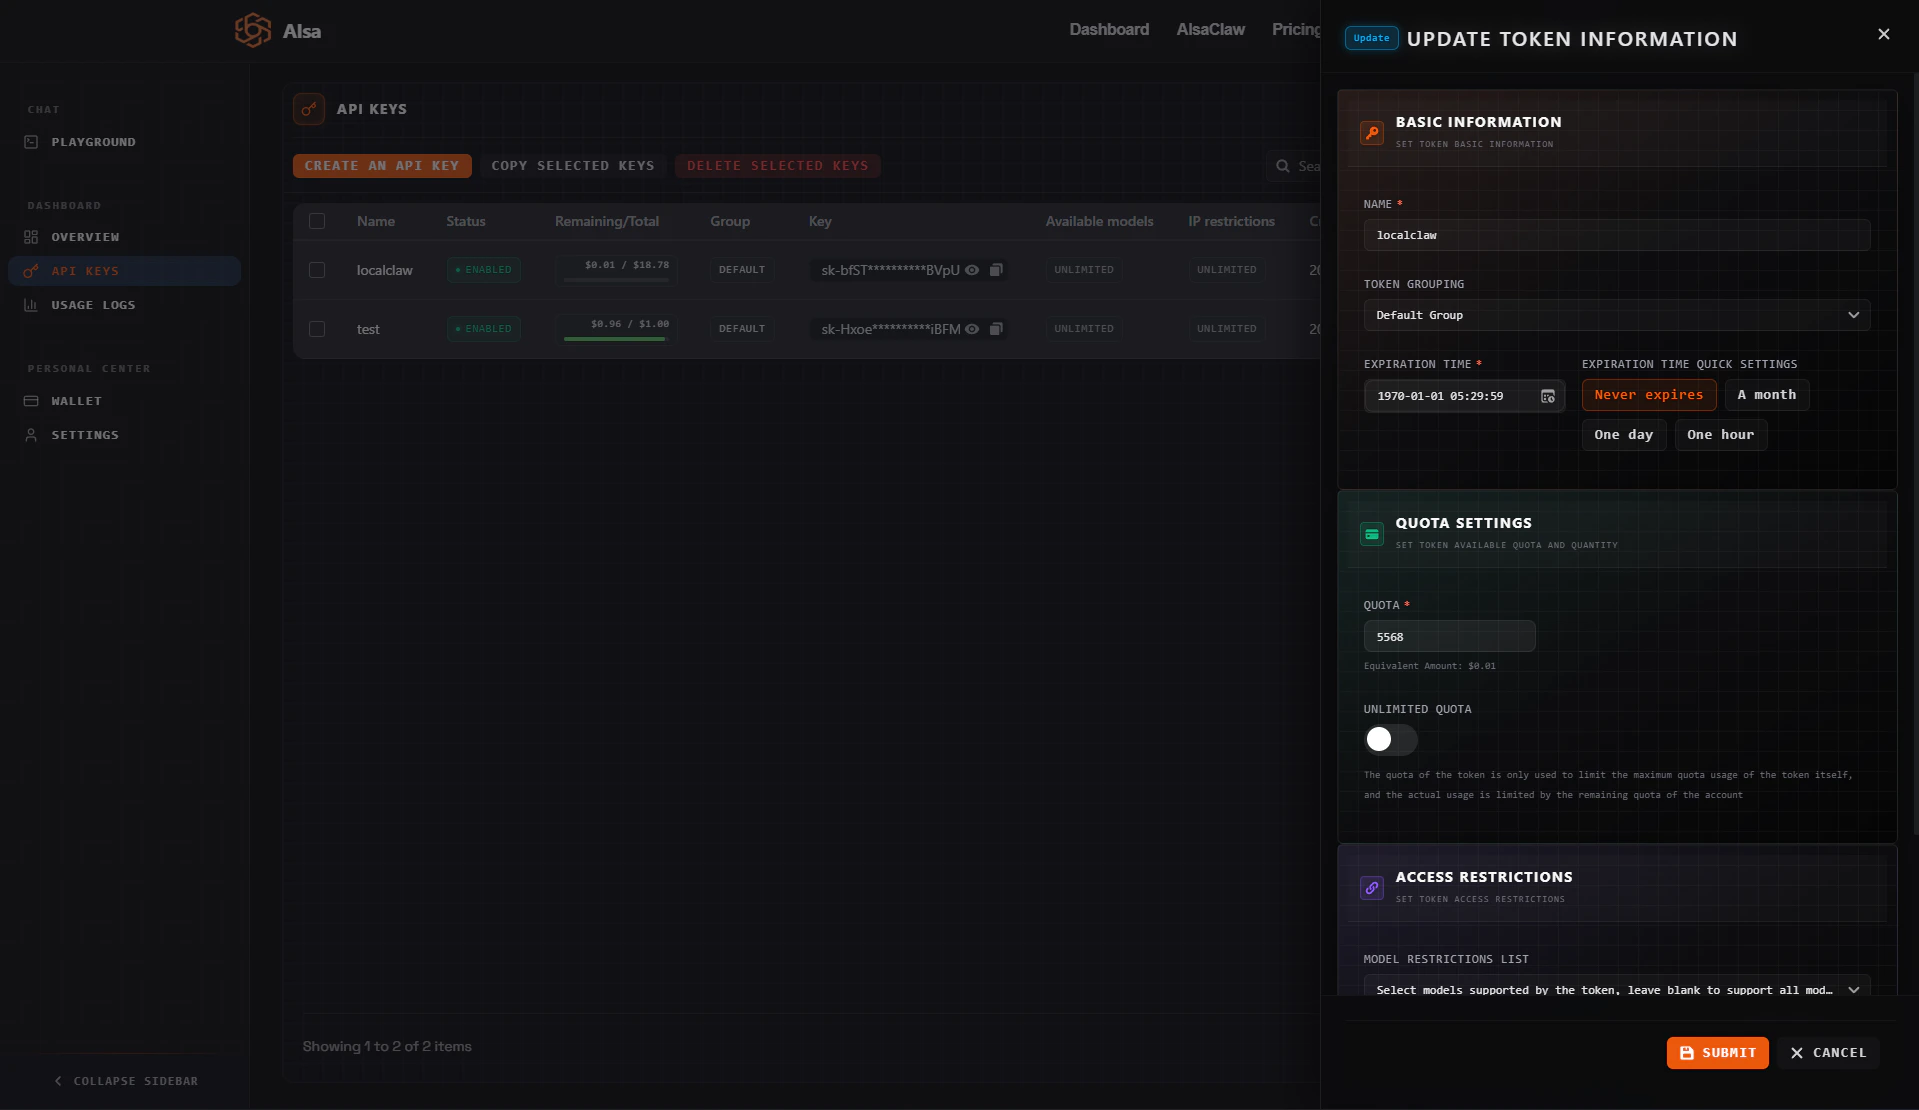
  1. Upon successful registration, you are directed to the API Keys page, where a key has already been generated for you. Copy and store this key securely, it authenticates all requests and is tied to your usage and billing profile.
AIsa dashboard showing the API Keys page with a generated API key ready to copy
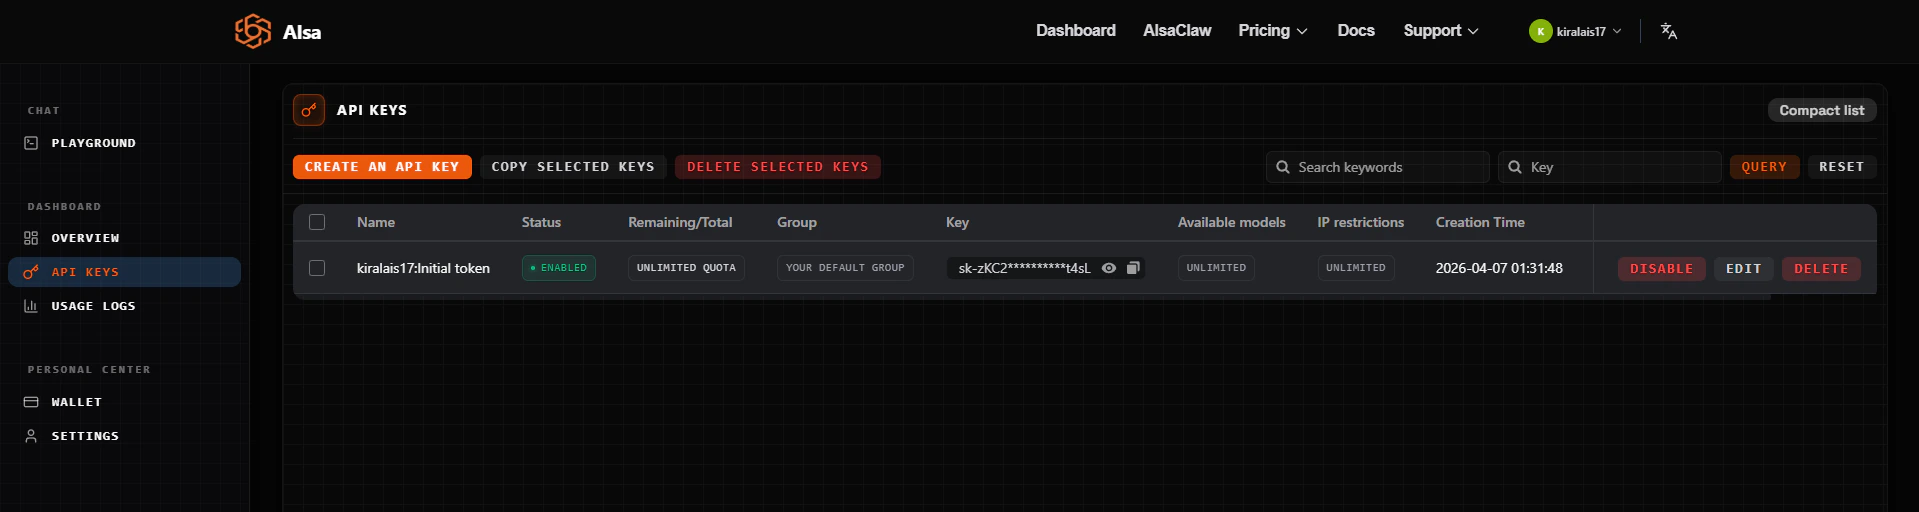
  1. To create additional API keys or set spending limits, return to the API Keys page at any time. When creating/editing a key, you can assign it a quota, the maximum amount that key is permitted to spend.
Note: A key’s quota is a spending cap on that specific key, not your total funds. Your credit balance is the overall amount available in your account wallet; a key can only spend up to whichever is lower, its quota or your remaining balance. This is useful when sharing keys across projects or team members, as it prevents any single key from consuming your entire balance. You can also remove this quota by enabling unlimited quota for a particular API key.
API key settings panel showing quota and spending cap configuration options Your API key authenticates all requests and is strictly tied to your usage metering and billing profile. It is critical to maintain the security of this key; never expose it in client-side code, public repositories, or unsecured environment variables.

Step 2: Executing Your First API Call

AIsa exposes a single API endpoint (https://api.aisa.one/v1) that dynamically routes requests to multiple providers based on the specified model parameter. Because the AIsa gateway is fully compliant with OpenAI’s Chat Completions API specification, developers only need to modify three variables in their existing codebases:
  • base_url: Must point to the AIsa endpoint.
  • api_key: Must be your generated AIsa token.
  • model: Must be a valid model identifier supported by AIsa.

Example: REST API Request via cURL

The following example demonstrates a standard HTTP POST request to the completions endpoint.
curl --request POST \
  --url https://api.aisa.one/v1/chat/completions \
  --header 'Authorization: Bearer <your_aisa_api_key>' \
  --header 'Content-Type: application/json' \
  --data '
{
  "model": "gpt-4.1",
  "messages": [
    {
      "role": "user",
      "content": "Explain the concept of an AI gateway in one concise sentence."
    }
  ],
  "stream": false,
  "logprobs": true,
  "top_logprobs": 5
}'
The response format mirrors the standard OpenAI schema, returning a JSON object containing the choices array, the generated message, and detailed token usage metrics for billing transparency.

Step 3: Integrating with Official SDKs

Due to its strict API compatibility, AIsa integrates natively with official OpenAI SDKs, eliminating the need for custom libraries.

Python SDK Integration

To utilize AIsa via Python, install the openai package and instantiate the client with your AIsa credentials.
from openai import OpenAI

client = OpenAI(
    api_key="<your_aisa_api_key>",
    base_url="https://api.aisa.one/v1"
)

response = client.chat.completions.create(
    model="gpt-4.1",
    messages=[
        {"role": "user", "content": "Explain the concept of an AI gateway in one concise sentence."}
    ],
    stream=False,
    logprobs=True,
    top_logprobs=5
)

print(response.choices[0].message.content)

TypeScript SDK Integration

Similarly, Node.js environments can leverage the official openai NPM package.
import OpenAI from "openai";

const client = new OpenAI({
  apiKey: process.env.AISA_API_KEY,
  baseURL: "https://api.aisa.one/v1",
});

async function main() {
  const response = await client.chat.completions.create({
    model: "gpt-4.1",
    messages: [
      { role: "user", content: "Explain the concept of an AI gateway in one concise sentence." }
    ],
    stream: false,
    logprobs: true,
    top_logprobs: 5,
  });

  console.log(response.choices[0].message.content);
}

main();

Next Steps

With your authentication established and the basic integration pattern confirmed, you can proceed to explore more advanced platform features. Developers are encouraged to utilize the Model Playground to visually inspect request payloads, test multimodal inputs, and compare the outputs of different models prior to deploying code into production environments. For detailed cost calculations regarding token consumption, review the AI Model Pricing documentation.